
Luke Hodge, who missed the Sydney game in Round 8 with injury trained ahead of the game after it was revealed on Tuesday that he will return to face the power.
The players completed full ground ball movement drills before breaking into four different groups to work on marking contests and ground ball movement.
The session ended with tackling drills and individual extras.
View photos from Thursday training below.
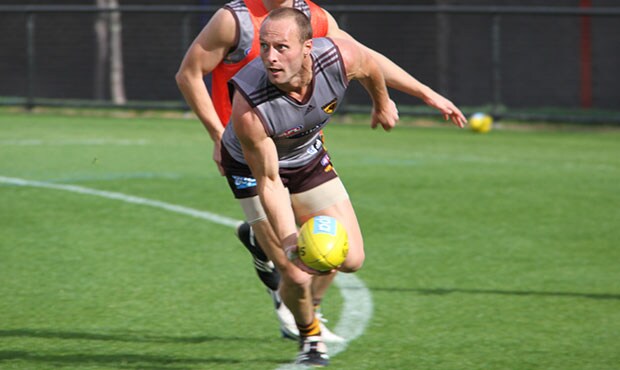
Will Brad Sewell play on Saturday night? He hits the track with his teammates on Thursday.
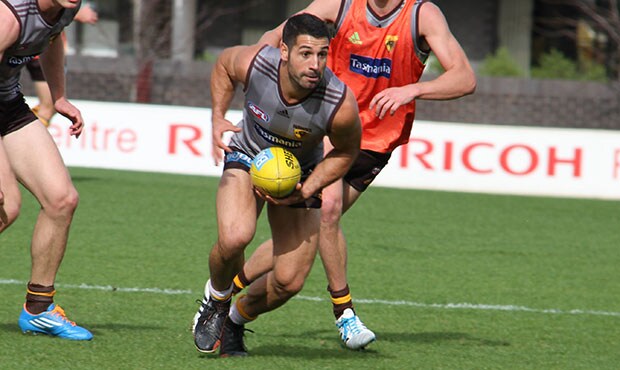
A tenacious player, Paul Puopolo manages to break free of congestion.
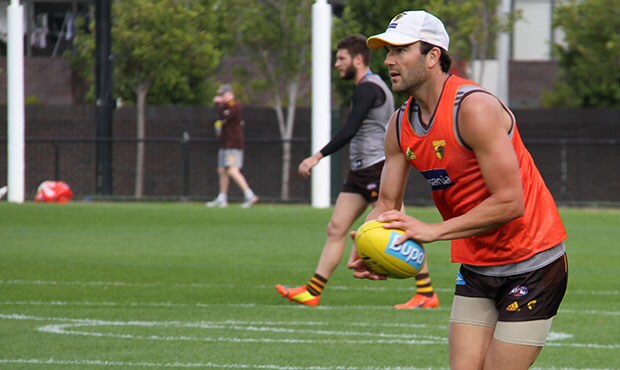
Polished as ever, Jordan Lewis looks for a teammate up the line.
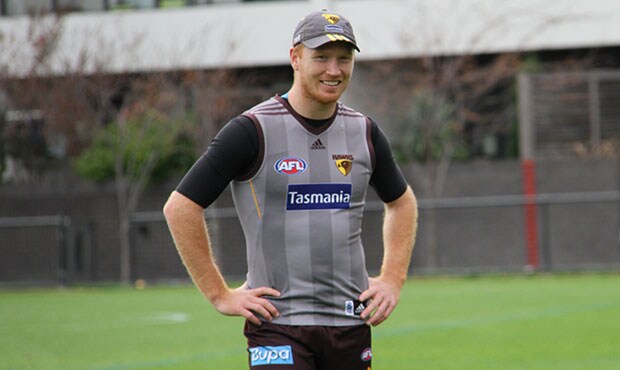
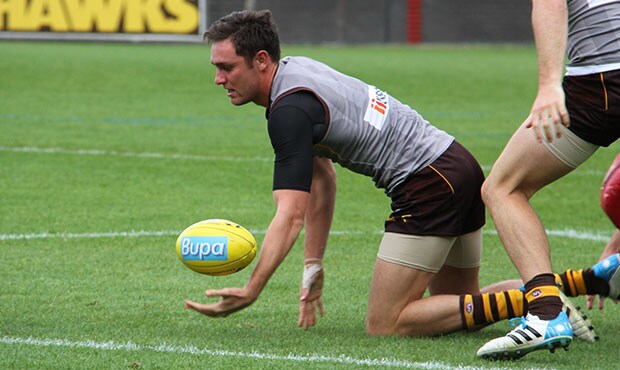
Kyle Cheney all smiles as he prepares for another big challenge on Saturday night.
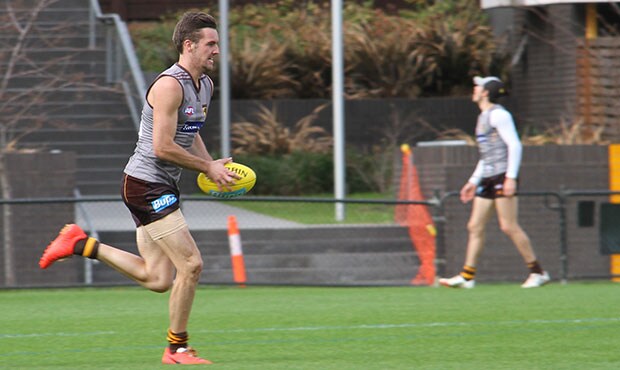
Matt Suckling in full flight.
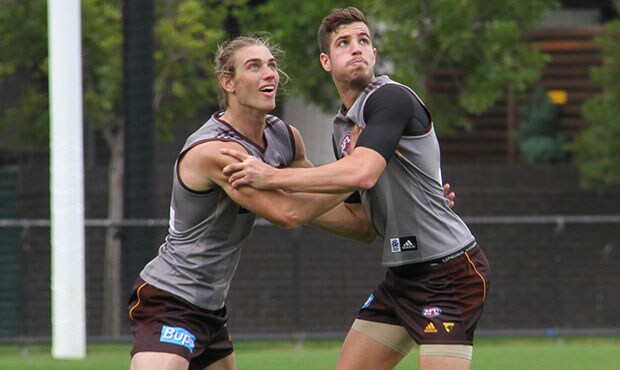
Young defender Taylor Duryea works with Grant Birchall and defensive coach, Luke Beveridge.

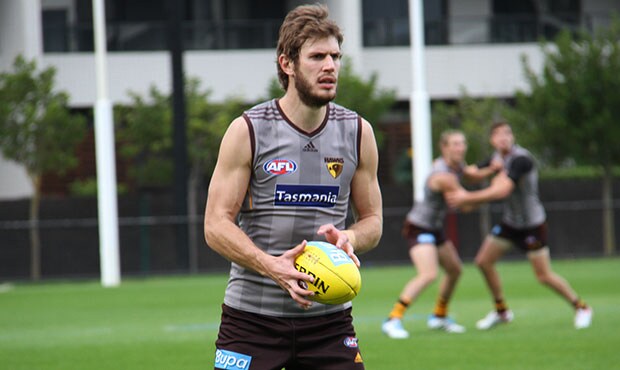
Ben Stratton uses his left boot coming out of the backline.
Birchall looks on as he searches for a teammate to kick to.
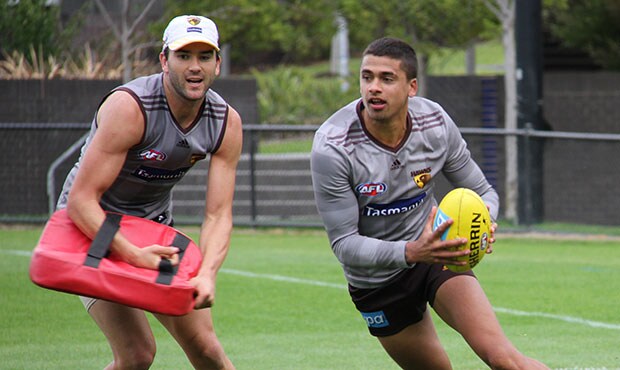
Bradley Hill manages to break clear of Lewis who lurks with the bump bag.
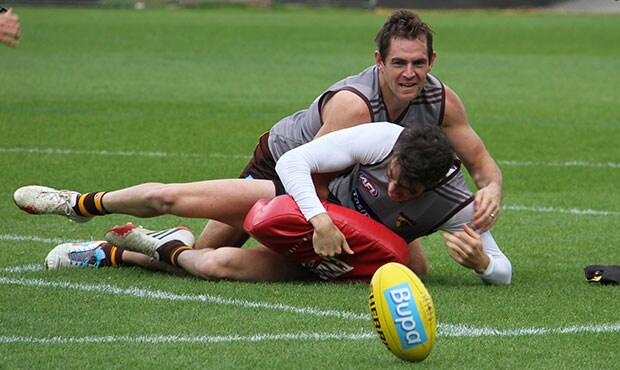
The skipper Luke Hodge takes down Isaac Smith and wins the battle for the footy.
Jack Gunston goes with one hand after being taken down in a strong tackle.
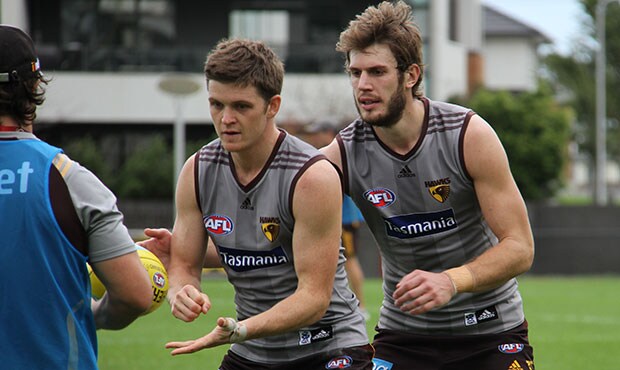
Ryan Schoenmakers and Ben Stratton engage as they do some extras after the session.
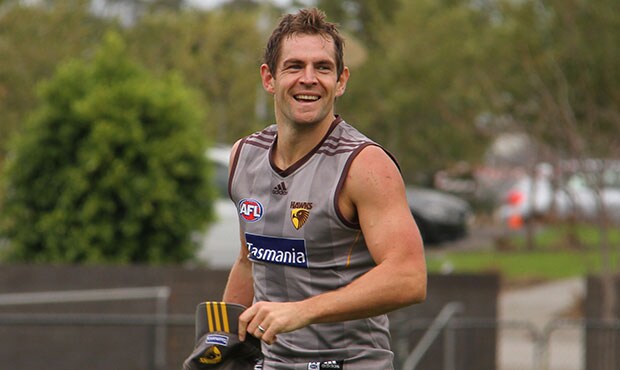
Hodgey has every reason to smile. He'll be back to lead the Hawks against the Power.
